

The National Institute of Certified Floor-Covering Inspectors (NICFI) is a
non-profit association of independent floor covering inspectors. NICFI members are expert flooring failure analysts and expert witnesses in flooring problems and failures.
NICFI members are experienced in the inspection and failure analysis of
woven carpet, broadloom carpet, resilient tile, rubber tile, cork tile, ceramic tile, resilient sheet vinyl, vinyl composition tile, LVT, hardwood, laminate, solid vinyl,
and specialty flooring materials.
NICFI members attend the annual NICFI Convention in Dalton, Georgia, to increase their knowledge and update their skills. The Annual Convention includes updates on indicative field testing
procedures, tools, products and product defects. The NICFI is the only Non-Profit Association in the Flooring Industry with membership comprised solely of Certified Floor Covering Inspectors.


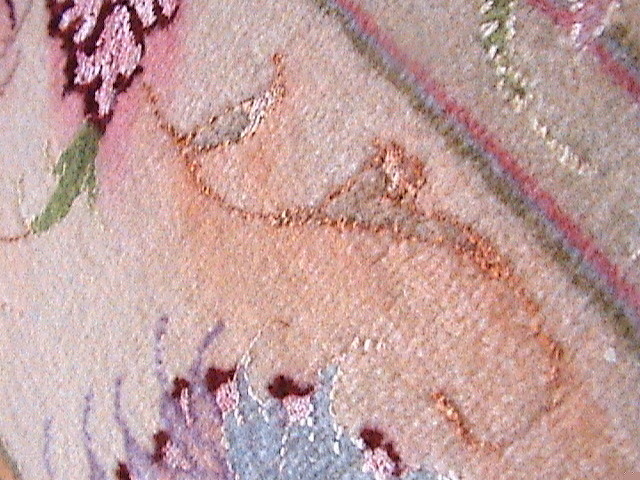
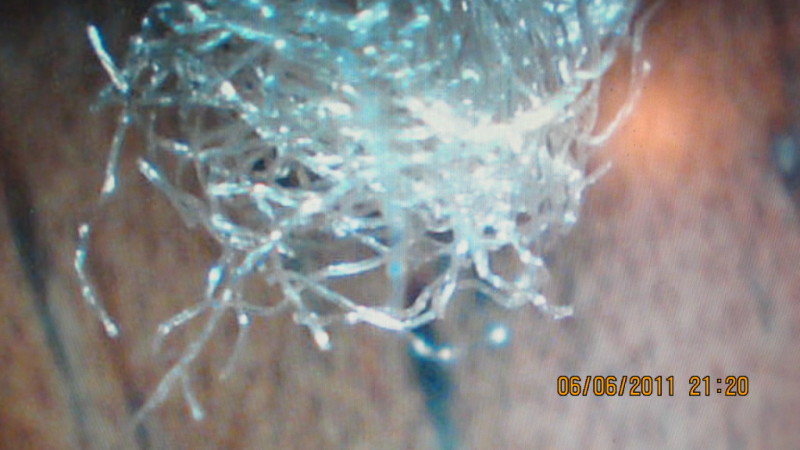
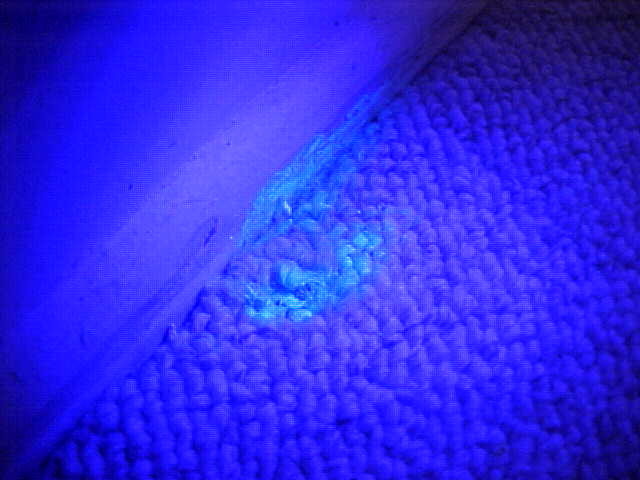
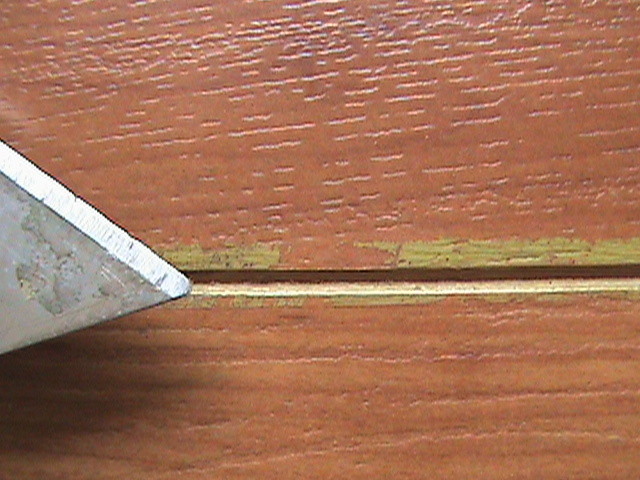
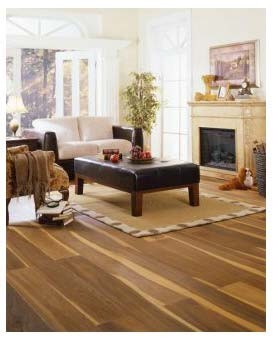
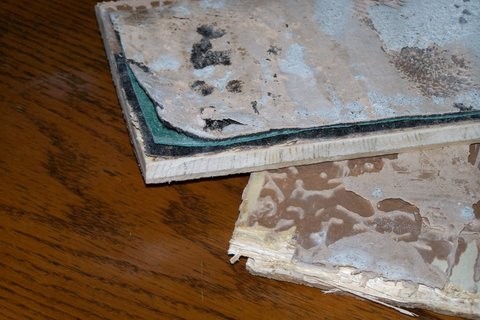
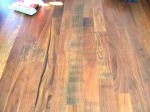
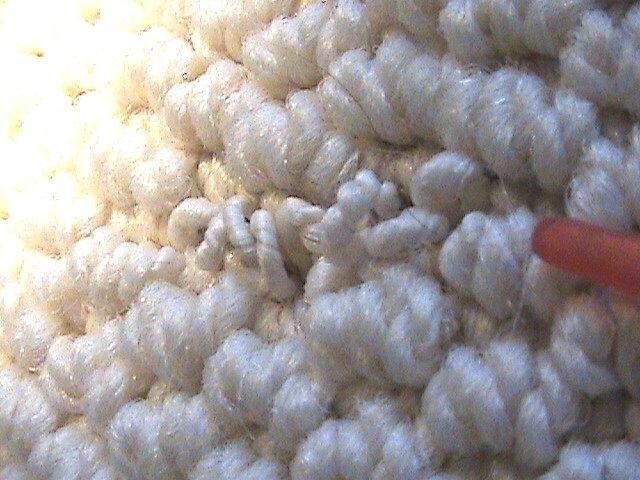
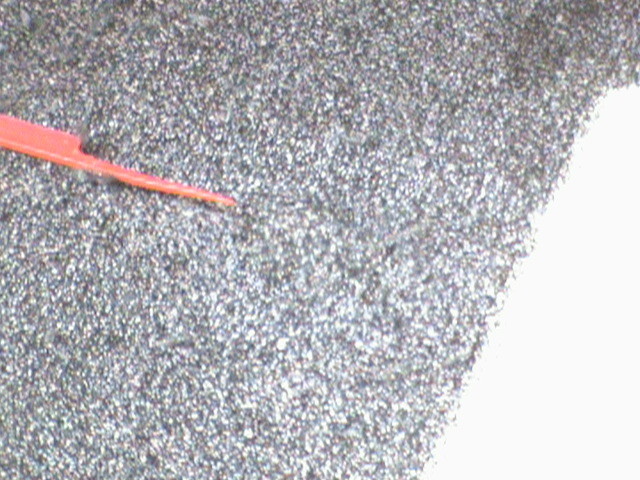
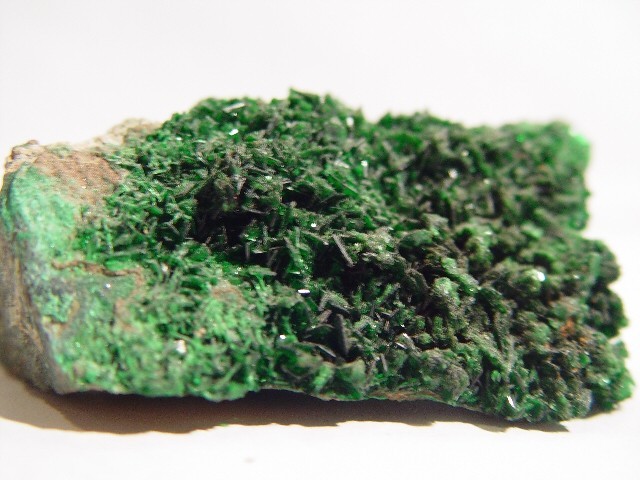
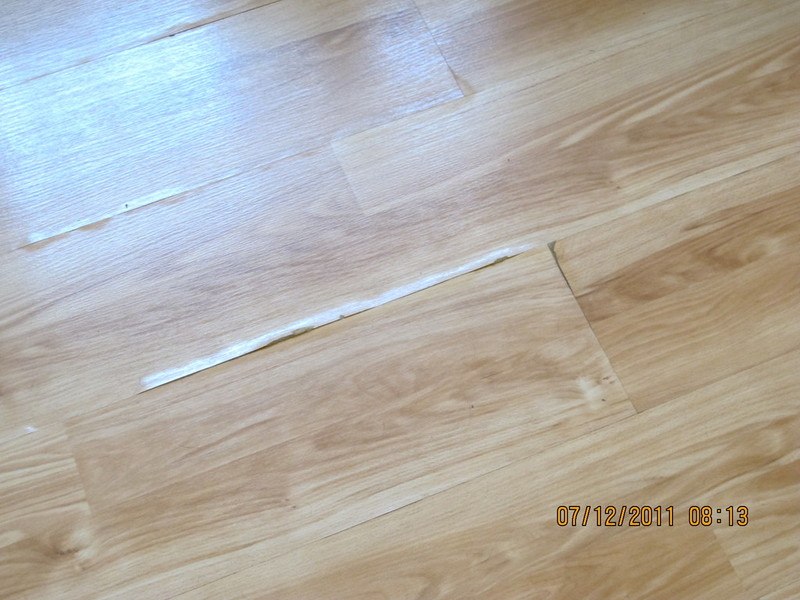
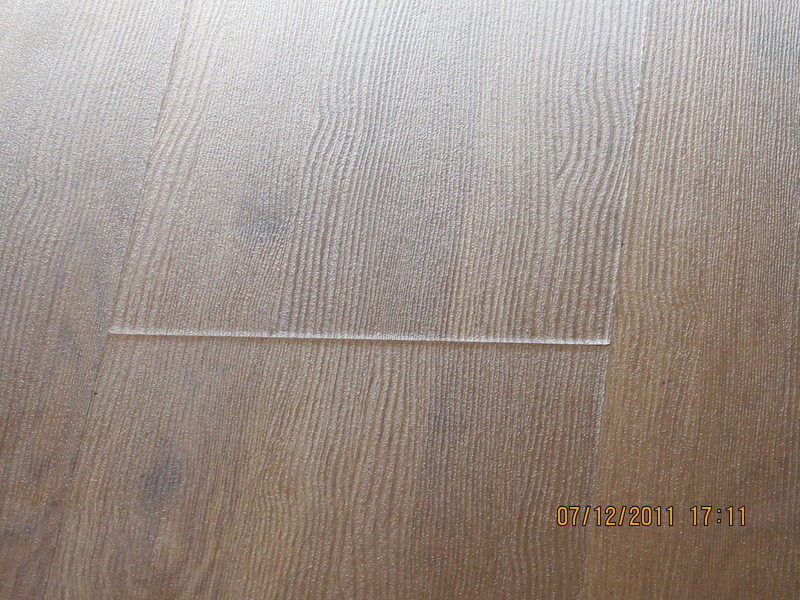
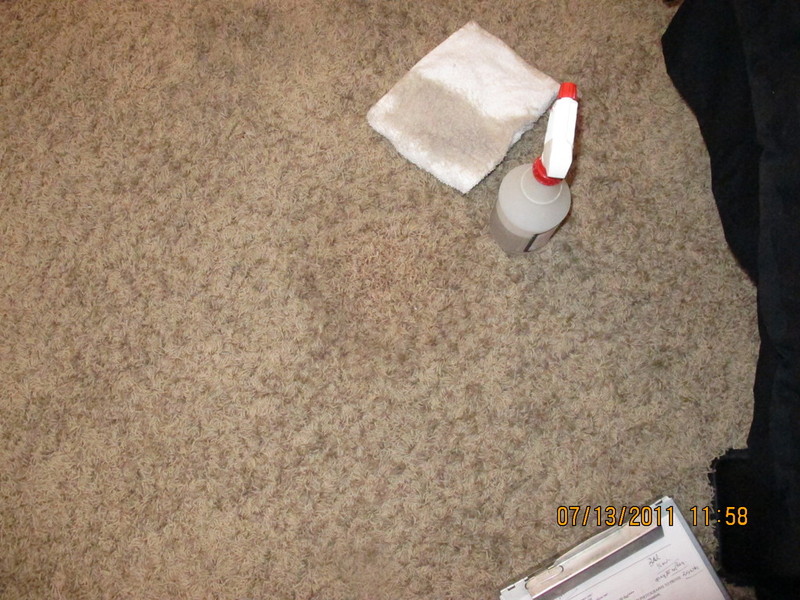
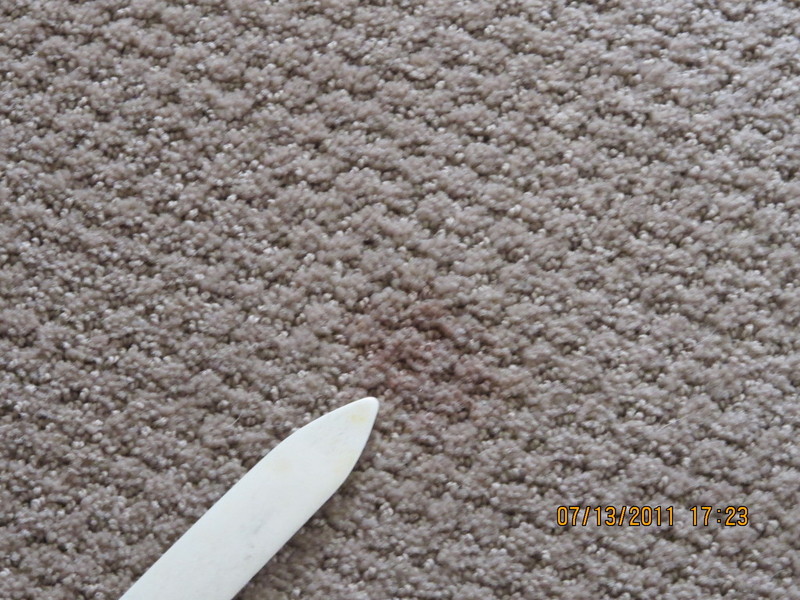
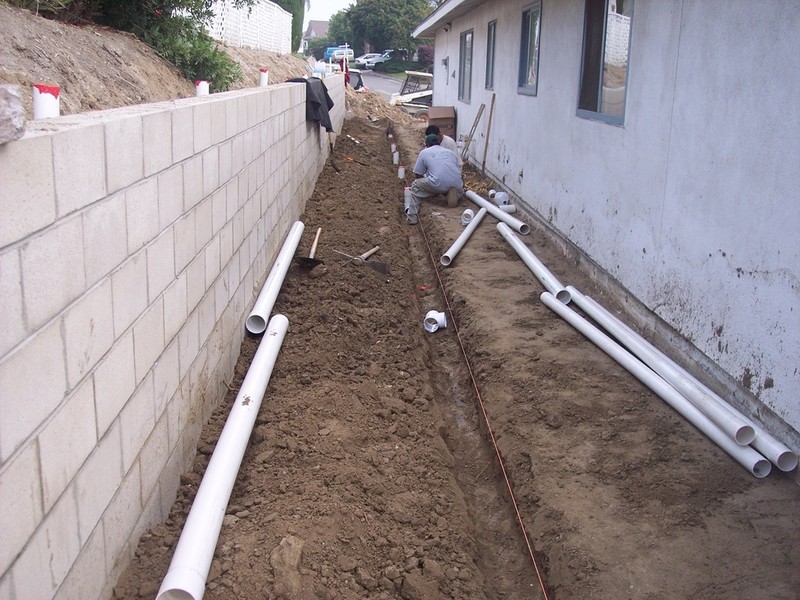
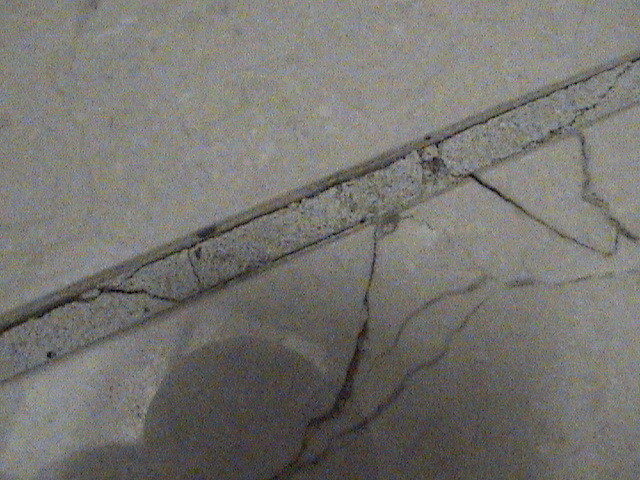
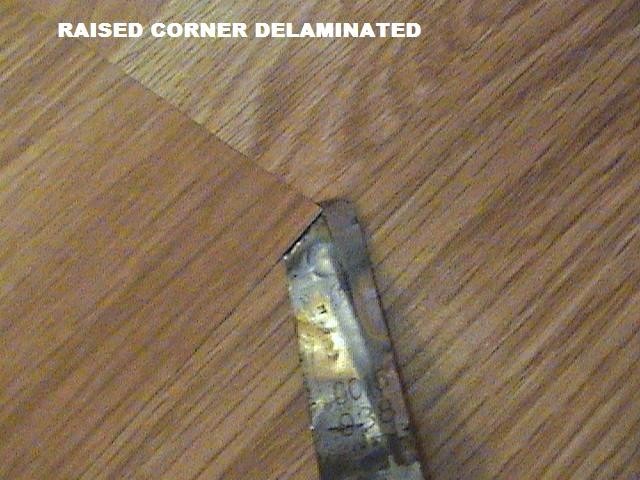
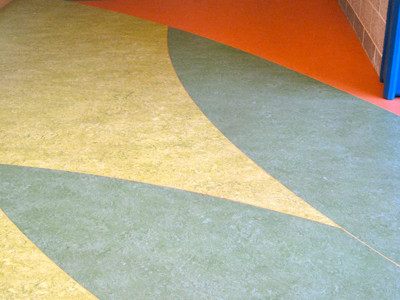
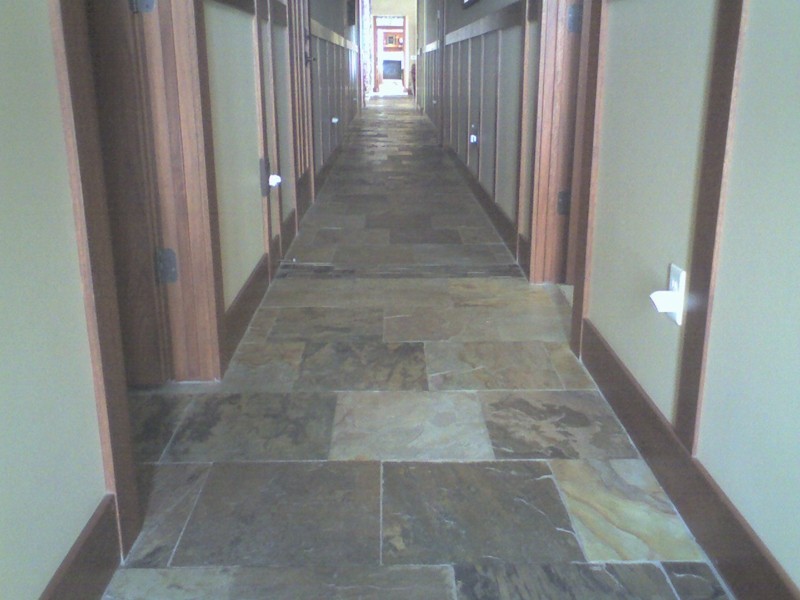
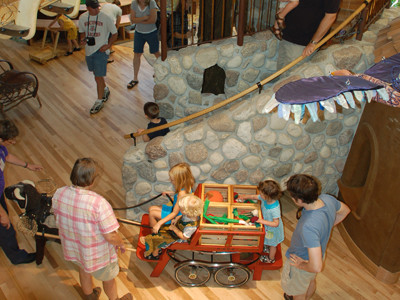
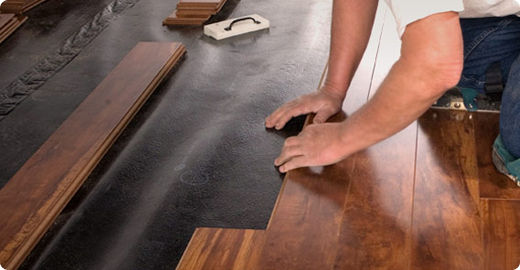
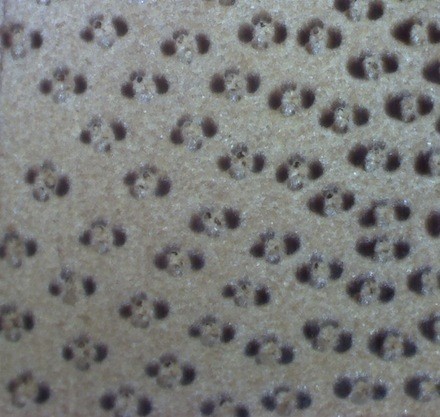
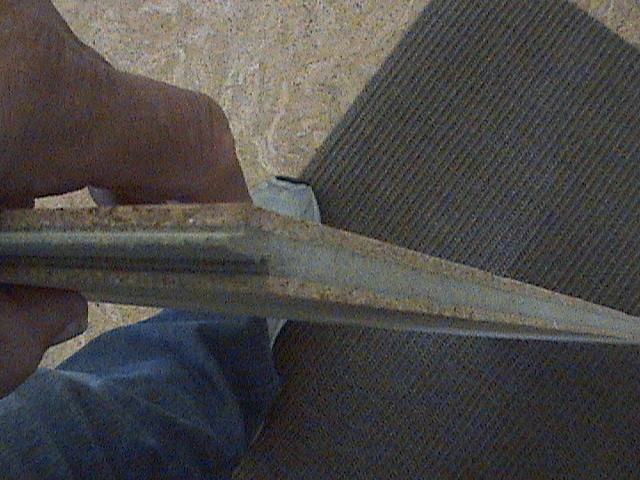
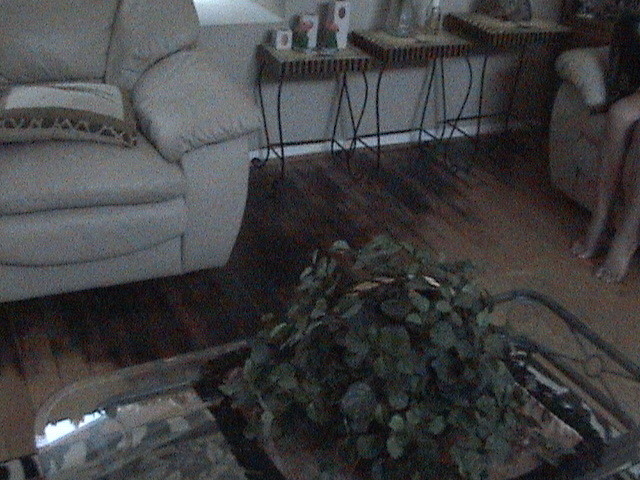
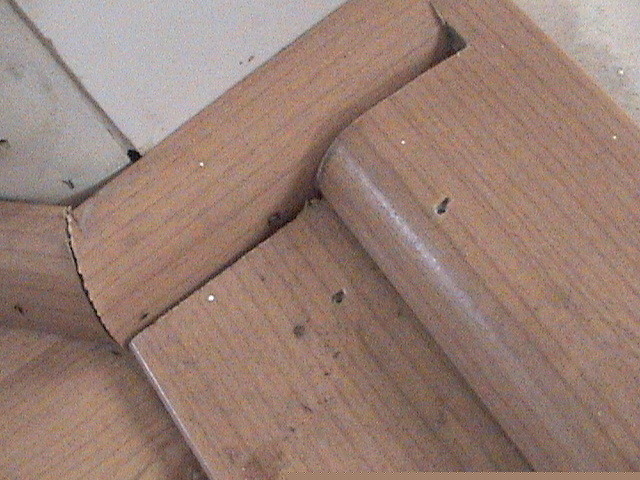
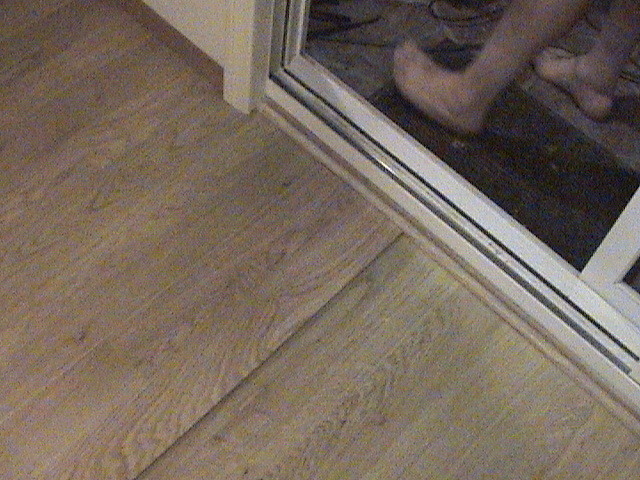
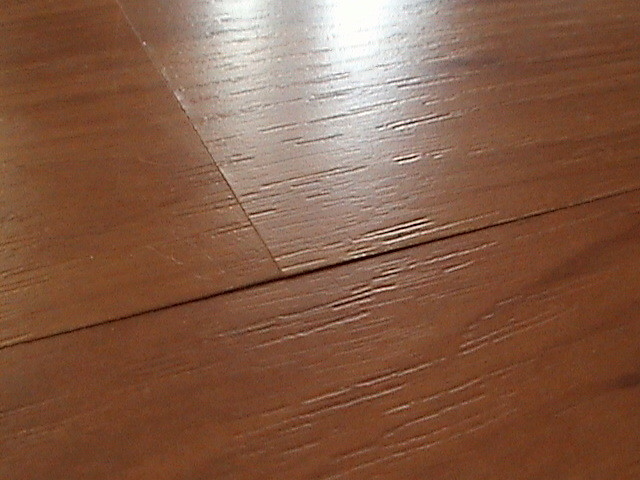
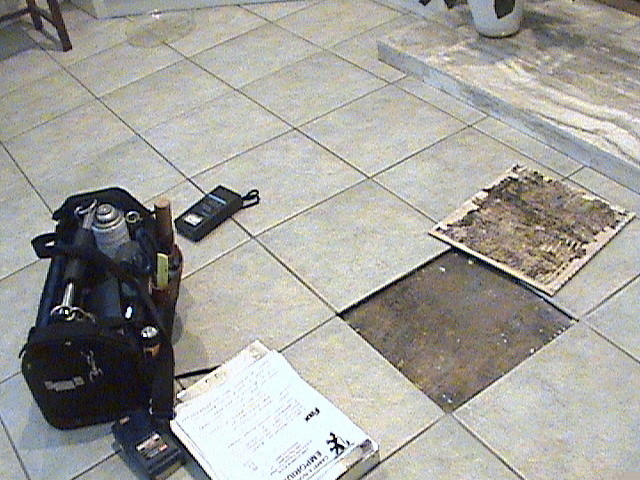
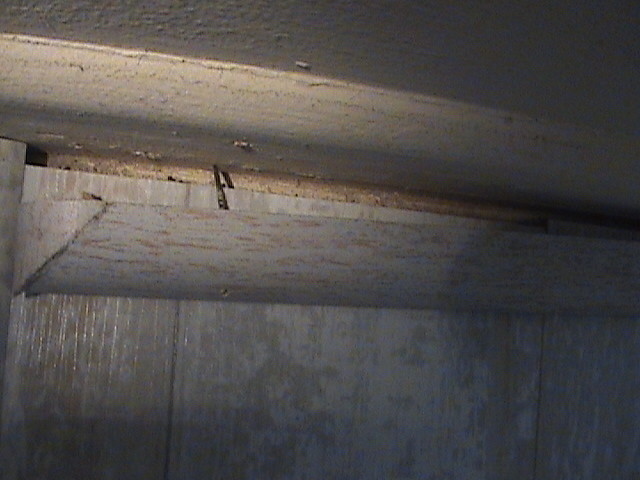
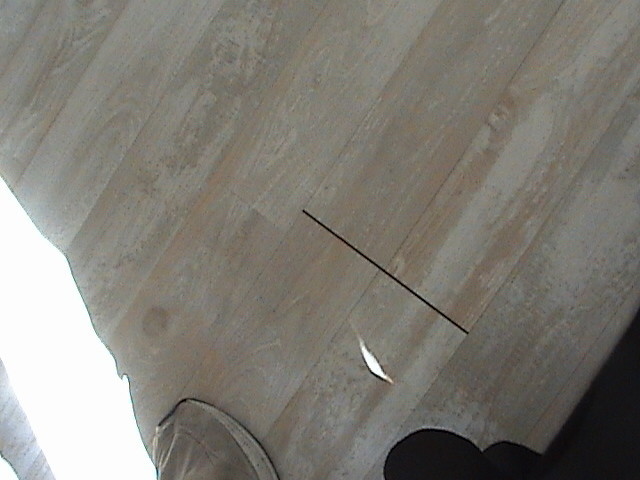
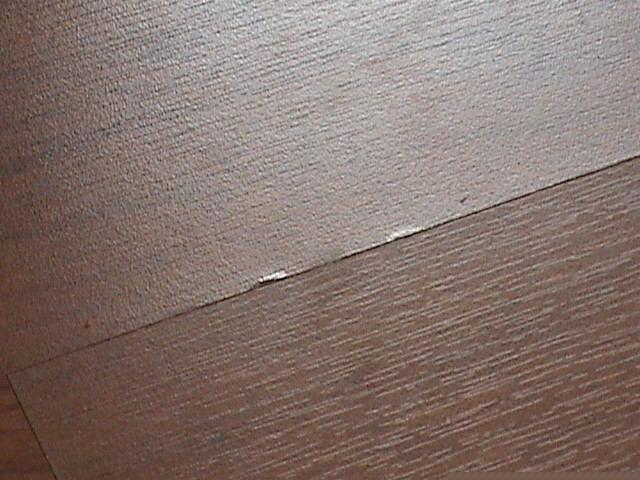
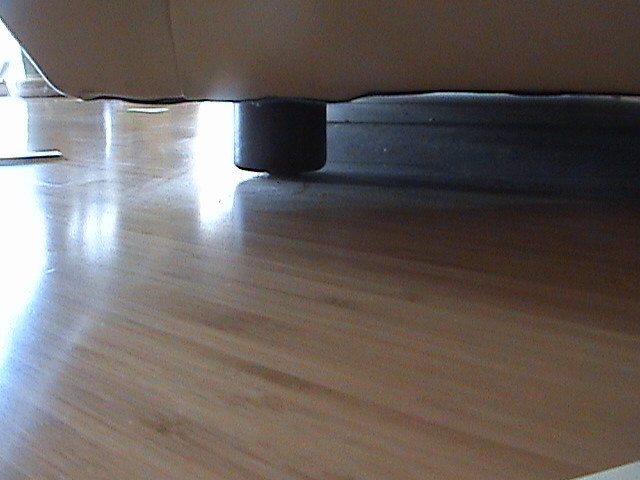
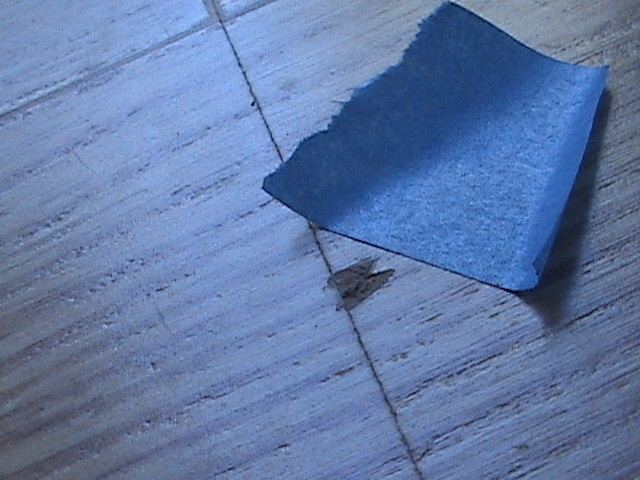
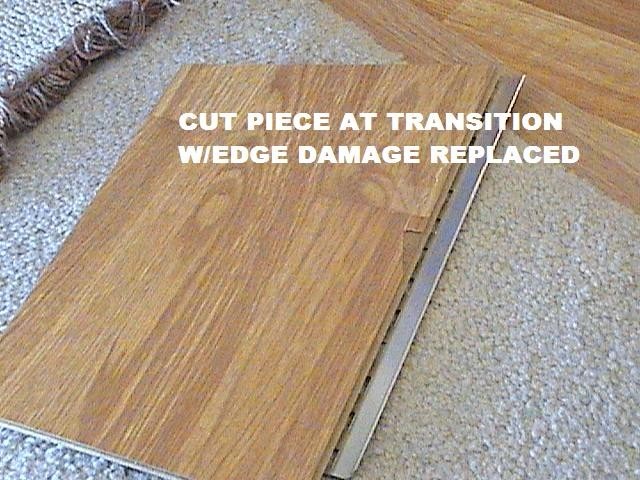
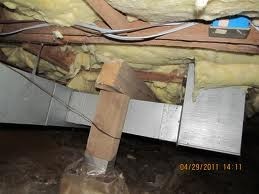
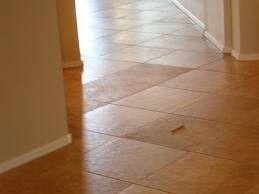
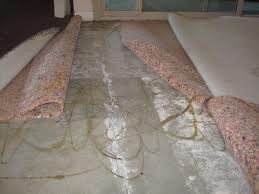
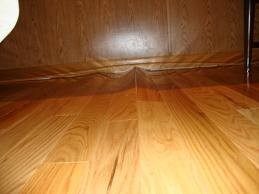
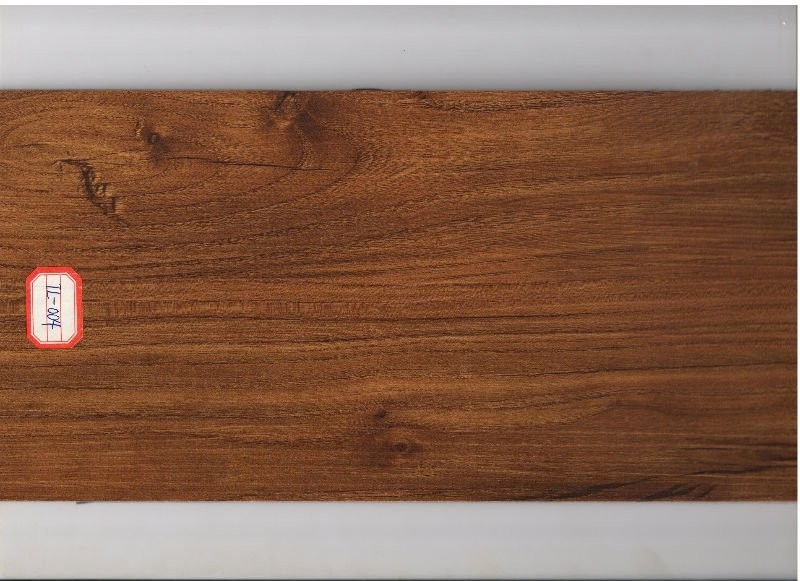
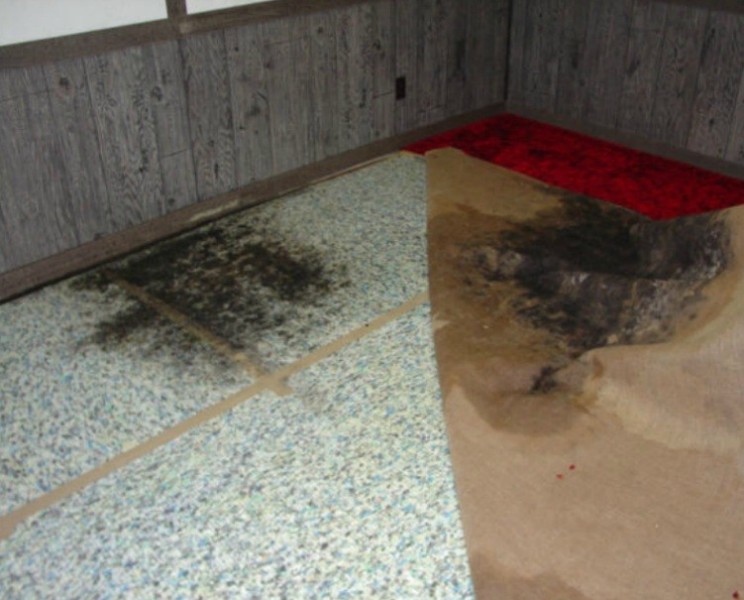
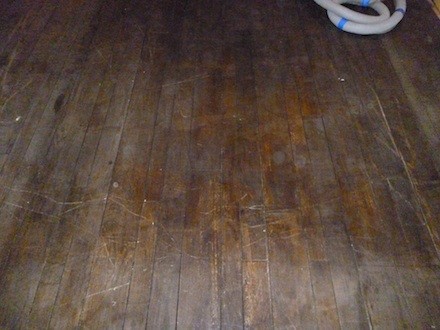
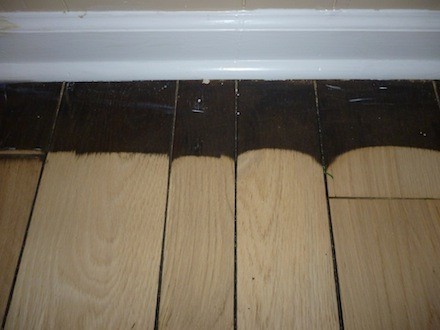
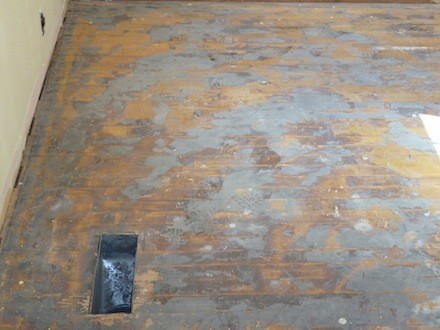
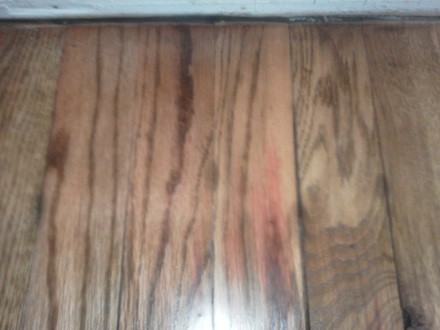
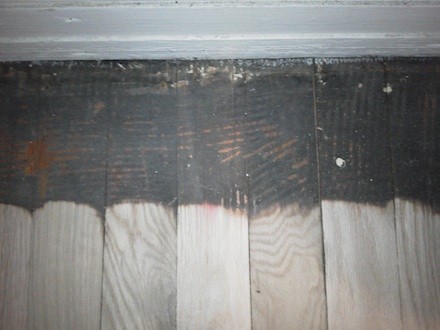
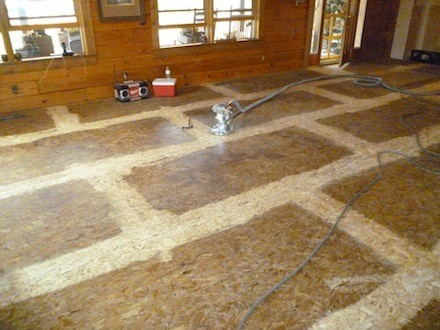
PHOTOS
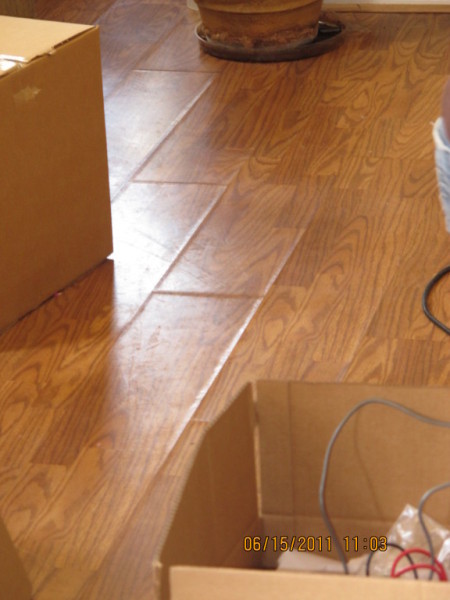
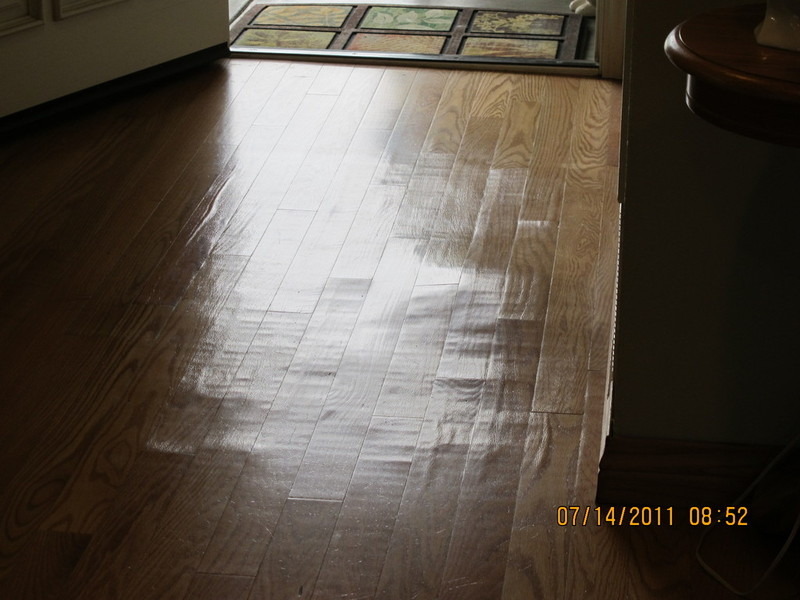
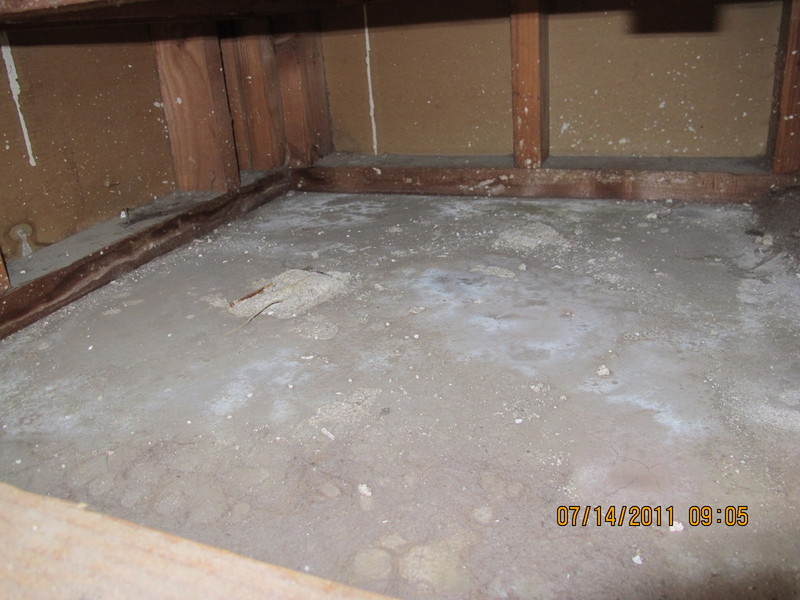
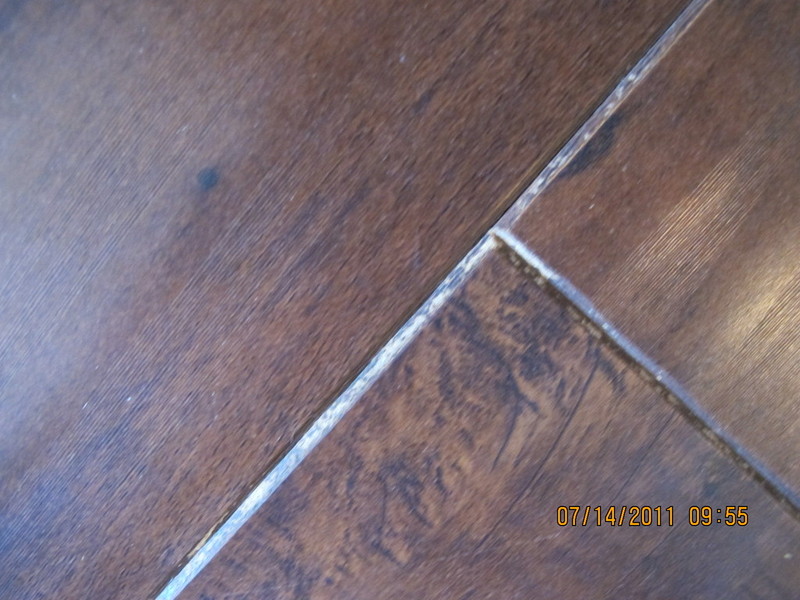
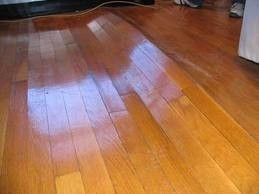
IS THIS YOUR COMPLAINT?


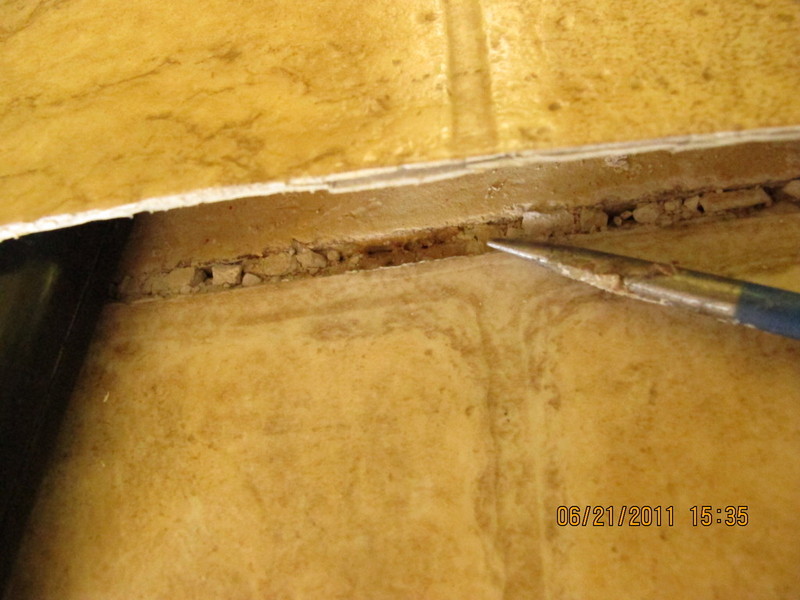
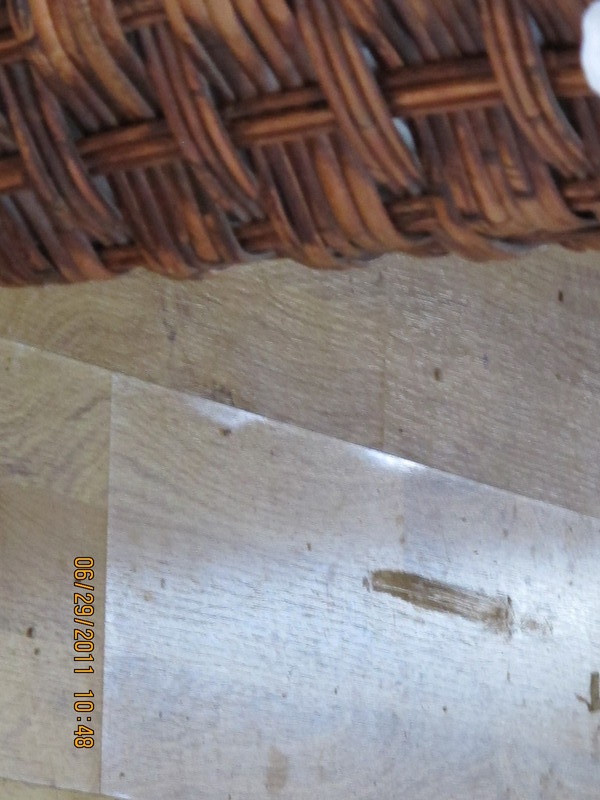
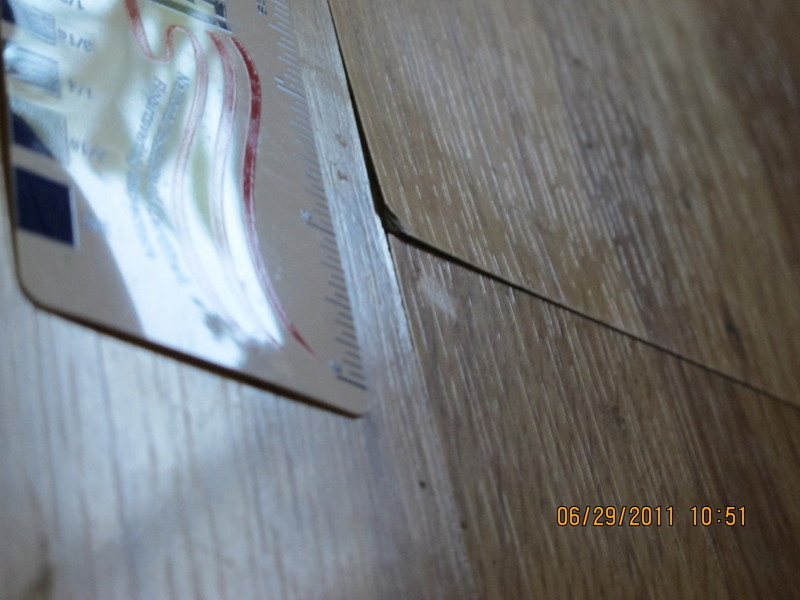


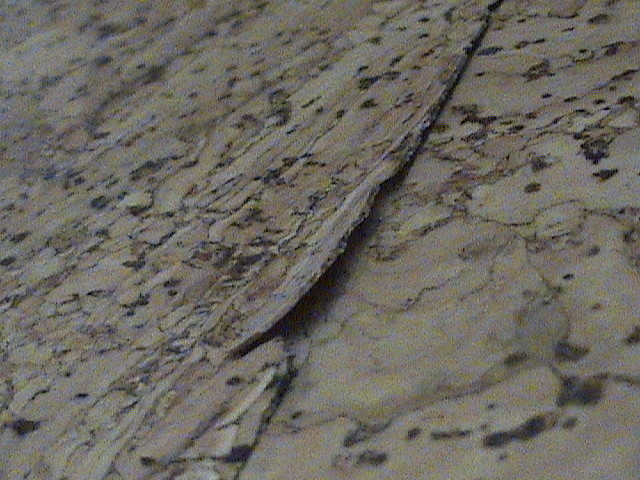


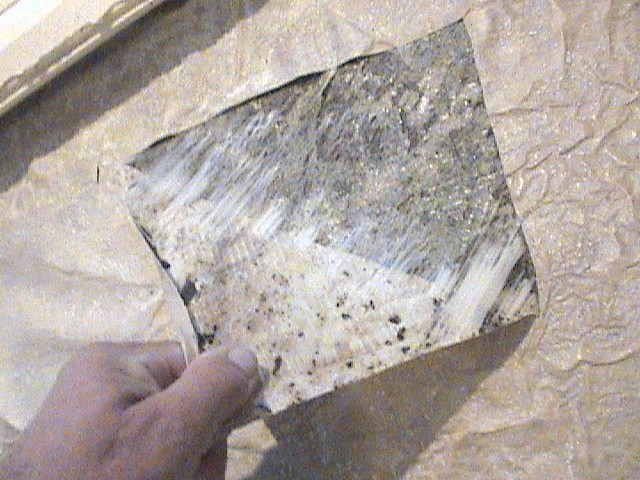
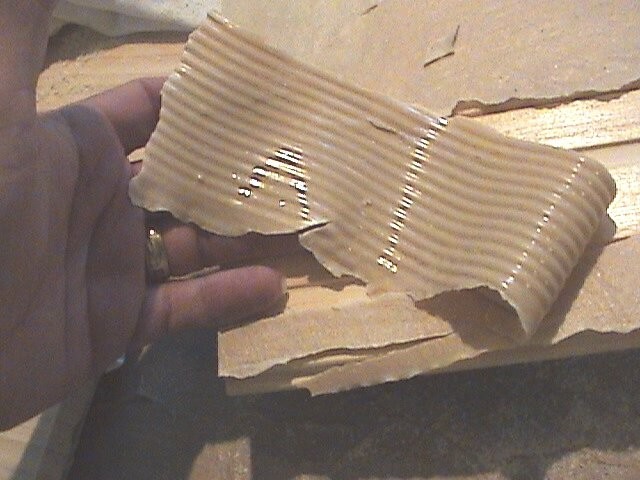
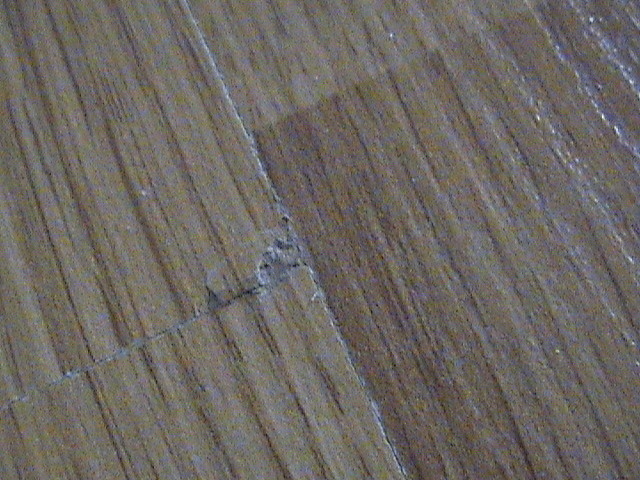
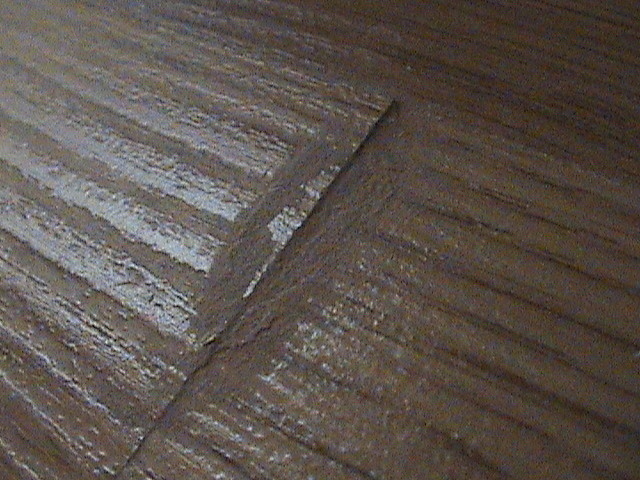


STONE

NOTE: ANY PART OF THE GENERAL INFORMATION FOUND BELOW CANNOT BE DEEMED OF ANY SOLE CAUSE OF FLOORING FAILURE WITHOUT PROPER TESTING AND INSPECTION.
CONTENTS BELOW INCLUDE:
-
ORIGINS OF STONE
- GRANITE
- MEXICAN SALTILLO TILES
- STAIN REMOVAL
- R VALUE OF NATURAL STONE
- STONE DEMANDS RESPECT
- FOSSIL (PHOTOS)
ANY QUESTIONS EMAIL TO: floorcovering@cox.net
1. ORIGINS OF STONE
ORIGINS OF STONE
Marble is proving to be one of the most practical as well as beautiful of all building materials. Decent techniques in mining, cutting, handling and application have permitted increases in its use in new construction and remodeling. For centuries builders and artists have fashioned their works from marble. The ancient Greeks and Romans were among the many civilizations who knew of the unique properties of this remarkable stone that lasted so long, remained so beautiful and shaped to their needs so easily. The works of these ancient civilizations provide us with many examples which have survived through the years. Even with today's technology, few materials can compare with marble in durability and beauty.
What accounts for this amazing durability of marble?
First we must understand what marble is. Under the intense heat and pressure far below the surface of the earth, it is subject to geological metamorphism, which transforms it into a highly compacted crystalline structure with uniformity of grain and hardness and a characteristic luster. It is during this process that minerals in nature, carbon, iron, sulphur, chlorides, etc., work their magic to produce the varied colors and designs within marble, also making EACH TYPE OF MARBLE UNIQUE. This geological metamorphism takes place in time spans from 7 to 120 million years. This means that marble within the same geographical location (in the same quarry) can take on many different characteristics. Each of these differences produces different situations for cutting, polishing, installation, protection, maintenance and restoration.
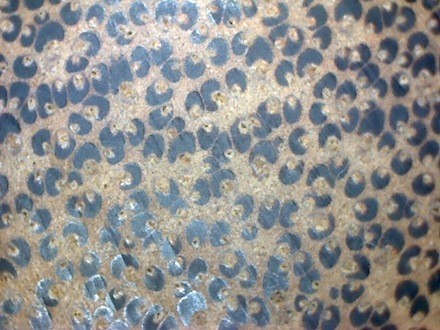
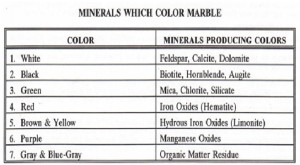
MINERALS WHICH COLOR MARBLE
The color, veining, clouds, mottling, and shadings in marble are caused by substances (generally minerals) included in minor amounts during formation.
DEFINITIONS
1. MARBLE: In current language, marble is any stone used for decorative purposes and takes a polish. The Greek word for marmores means glistening. More technically, marble is a limestone that has crystallized due to a geological metamorphism over a very long period of time, ranging from 7 to 120 million years. The Marble Institute of America has assigned group classification for soundness and working qualities. We repeat, working qualities only. "D" marbles can be and are generally more decorative
and more expensive than "A" marbles.
GROUP A: Sound marbles with uniform, favorable working qualities. Suitable for areas of heavy traffic.
GROUP B: Marbles similar in character to the preceding group, but working qualities somewhat less favorable; occasional natural faults. Suitable for most normal traffic uses - light commercial, residential.
GROUP C: Marbles of uncertain variations in working qualities, somewhat less favorable working qualities; geological flaws, voids, veins, and lines of separation. Suitable for walls and very light traffic areas. Marble is made through nature, it is not a man made substrate, therefore it can be inconsistent. Many marbles have voids and faults filled with cement and epoxy prior to shipping the finished product. More yeining can mean a stone may be more brittle and susceptible to breakage or fill removal, even after installation.
2. TERRAZZO: Primarily a concrete composition with marble chips mixed in. Composed of 70% - 95% marble, terrazzo, was very popular in the 1930's -1950's. This material can normally be polished just as any other stone product.
3. AGGLOMERATE MARBLE: This material is sometimes called modern day terrazzo. Generally composed of 90% - 95% marble, the marble chips are bound with resin. The stone may appear to have a granite like appearance or be brecciated. The tendency is for this material to be sort, however, it will react well with normal maintenance and restoration procedures.
4. TRAVERTINE: Ivory to golden brown colored limestone formed over approximately 600,000 years by precipitation in hot mineral springs. It comes out of the ground "relatively" hot compared to marble, but hardens with age and exposure. It has a sponge-like texture with up to Vf holes. These cavities are frequently filled with matching cement or epoxy. Travertine, although softer than most marble, is very abusive to tools during maintenance and restoration due to the cavities.
5. LIMESTONE: A sedimentary rock which while relatively soft, weathers well. Limestone has a tight-grained appearance and usually is seen in a HONED (unpolished) state. Limestone tends to be much more porous than marble and therefore needs some special attention. Contrary to popular belief, most limestones can be polished; however, the polish will generally not be durable.
6. GRANITE: Derived from the Italian word, "Granito" meaning "grained". Granite is a very hard, crystalline, igneous or metamorphic rock primarily composed or feldspar, quartz and less amounts of dark minerals. Mineral grains are visible to the naked eye and are a distinct characteristic of granite. Granite is frequently characterized as more resistant to damage and wear, harder and more uniform than marble, travertine, limestone, onyx or slate. Granite can be 10 times harder than marble and is considerably less porous than most marbles. As a result this is a surface that is difficult to restore and should be viewed with extreme caution when determining maintenance and restoration procedures.
7. ONYX: An agate-like stone formed by precipitation in cold mineral springs. It is often translucent with a layered look. It is not used extensively and caution should be utilized when dealing with Onyx.
8. SLATE: Is a stone that will not take a polish. Slate is a fine-grained metamorphic rock derived from clays and more often, shales. Slate has a cleavage that permits it to be readily split into thin, smooth sheets. Most popular colors were green and black; however, many new colors are now being imported. Best treatment for this stone is an impregnator for stain protection.
2. GRANITE

Granite Floor
There are lots of different materials in modern use for flooring, so why granite? Well, for starters, granite is probably one of the hardest, most durable and long lasting mediums available for floors. In the home, dissimilar rooms may benefit from dissimilar types of stone floor, but for kitchens, granite stands out head and shoulders above the rest. It is, of course a personal choice dictated by use, amount of human traffic and overall aesthetics. Here we will discuss the pros and cons of granite floor as a great looking, extremely durable, easy to maintain and easy to clean material for your interior floor and how granite flooring really is hard to beat!
Granite floors and kitchens go together like hand and glove. The kitchen is the one room in the house where the floor gets maximum use and suffers the most in the way of spills of all kinds, dropped items likely to cause damage and constant cleaning. So granite, being the most capable flooring material to endure everything a kitchen can throw at it, really is a great choice for that room in the house. Granite comes in many different styles and patterns so it will always look good and aesthetically pleasing.
Granite, being one of the hardest, most durable materials for floor there is, makes it a supreme choice for a kitchen floor. It is resilient to staining as well as acid and alkali chemical spills. It will resist grease, fat and oil spills as well as boiling water, tea and coffee, fizzy, sugary drinks; in fact just about anything a hyperactive chef can throw at it! It will survive being bombarded by falling cutlery, crockery and glasswork as long as the resulting rubble is swiftly swept up and non left to be ground in by a myriad of shod feet. This leads us on to keeping your granite floor clean.
Cleaning and maintenance of a granite floor is a relatively simple procedure. Sweeping and mopping with warm water daily, as well as following any inadvertent dishware breakages will keep it clean and shiny. A once weekly clean with stone soap, followed by a rinse mop with plain water helps to keep the floor sealed and shiny. Having said this, there is one disadvantage of granite flooring that needs to be highlighted.
Despite its hardness, granite can be scratched by quartz. Quartz is a sand-like material that can be brought into a home on the soles of shoes. The heavy human traffic that a kitchen gets could cause those small, sandy particles that are deposited over the surface of the granite to cause minute scratches. This will create a dulling effect on the surface, which, if left to worsen over time, will require specialist treatment to recover its original luster. Restoring a badly scratched and dulled granite floor is expensive and there is a good chance that the process with alter the color of the granite. For this reason, it is best to practice “prevention is better than cure” and get into the habit of sweeping and swabbing daily to minimize this potential problem.
Despite its one easily avoidable disadvantage, a granite floor makes an extremely good looking, durable, hard wearing and easy cleaned and maintained surface custom made for most designs of kitchen. So for kitchen floors, granite really is hard to beat.
Despite its one easily avoidable disadvantage, a granite floor makes an extremely good looking, durable, hard wearing and easy cleaned and maintained surface custom made for most designs of kitchen. So for kitchen floors, granite really is hard to beat.
3. MEXICAN SALTILLO TILES
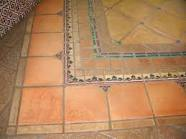
SALTILLO MEXICAN PAVERS INTRODUCTION
Although rich in character and rustic charm, untreated mexican saltillo pavers are very porous, and subject to surface wear and contaminant staining if not properly sealed and maintained. Awareness and utilization of a practical maintenance program will help insure a lifetime of beauty and function to a properly installed saltillo me. The purpose of this guide is to provide safe, user-friendly product and procedure recommendations that are both aesthetically pleasing and functional.
CHARACTERISTICS
1. Saltillos have sandy backs, caused by dumping the wet tile, from the mold, on the ground to sun-dry before baking.
2. Saltillos have chipped edges.
3. Saltillos have lime pops (little craters).
4. Saltillos are not the same size.
5. Saltillos are not all the same thickness.
6. Saltillos are not all flat.
7. Saltillos are not all square.
8. Saltillos have occasional cracks on the surface.
9. Saltillos have occasional animal prints (to get one of these, you have to be lucky).
10 Saltillos are not all the same color (they vary in shading in the same tile).
11.Saltillos may not accept a stain.
These
are not defects. They are what make the Saltillo so attractive. Raw Saltillos are
very crude looking. After they are installed, grouted and sealed, they are very atractive. When properly sealed, they are easy to maintain and they will literally last forever.
MANUFACTURING
PROCESS
The manufacturing process for the Super Saltillo Mexican Pavers:
1. The clay is excavated from the river bank.
2. The clay is ground to distribute the alkali in the clay.
3. The ground clay is mixed with water.
4. The wet clay mixture is extruded like a belt.
5. The extrusions are cut into lengths and placed on wood planks.
6. The planks with clay are placed on the ground.
7. The clay is stamped like a cookie cutter to form the shape of the Super Saltillo
Mexican Pavers.
8. The tiles are removed and placed under a shed for drying.
9. The clay tiles are placed in vertical kilns.
10.The kilns are fired. *
11.The Super Saltillo Mexican Pavers are placed in crates and shipped.
The manufacturing process for the Primo Saltillo Mexican Pavers:
1. The clay is excavated from the river bank.
2. The clay is ground to distribute the alkali in the clay.
3. The clay is mixed with water.
4. The wet clay mixture is placed into hand press molds located in sheds.
5. The employee uses a three step hand press process to mold the Primo Saltillo
Mexican Pavers.
6. The pressed clay paver tiles are stored in a drying room.
7. The pressed clay paver tiles are placed in kilns.
8. The kilns are fired.*
9. The Primo Saltillo Mexican Pavers are placed in crates and shipped.
* The
kilns are fired using rubber tires for fuel. From the starting of the firing to
the finish of the firing of the kilns is 24 hours. The temperature in the kiln
achieves a heat of 900°C to 100(FC (or 1650°F to 1850°F) for 9 to 10 hours.
Variations in Saltillo tile colors are caused from direct or indirect heat
exposure in the kiln. The lighter buff coloration is from direct heat exposure.
The darker peach coloration is from indirect heat exposure.
Summary;
The
process of making these Saltillo Mexican Pavers is primitive and rustic. Rustic
is agood description, as chips, cracks, and bumps occur in me surface of these
tiles. Width sizes are approximate, and thickness may vary from 1/2"to 7/8". These Saltillo Mexican Pavers are special purpose tiles. Recommended usage of these tiles includes: entryway,
kitchen, family room, laundry room, hallway, bathroom floors, etc. for indoor floors and walls, and for exterior paving and walls. Caution! These tiles are not recommended for areas subject
to vehicular traffic, such as driveways, nor for high acid concentrations, such as swimming pools and adjacent areas, nor for high traffic commercial areas such as restaurants,
unless daily maintenance is used to condition
the floors in high traffic commercial areas. When ordering these tiles, it is recommended that you order 10% more tiles than are needed to allow for broken or cracked tiles, and that you
place your order before you actually need the tile. By planning in advance, you will have the tile when you need it, or you will at least know when the tile will be available.
INSTALLATION GUIDELINES
High moisture absorption, varying qualities of clay, varying
sizes and thicknesses,
varying qualities of firing of the clay, are all characteristics associated with Mexican Pavers. Due to these unique characteristics, installation guidelines that differ from installation
of quarry tile and porcelain tile include: Soaking, Stains and Sealers, Grouting and Acid Washing, and Long Term Maintenance. The following is an installation guideline developed
through a consensus of contractors, finishers, and manufacturers of stains and sealers:
SOAKING
Advantages:
1. Increased bonding strength of mortars and grouts during installation.
2. Efflorescence may occur from 24 hours to 1 hour in advance of installation of the payers. The pavers should be removed from the water at least 15 minutes prior to installation.
Disadvantages:
1. Application of sealers and stains is recommended 2 weeks following installation.
2. Efflorescence may deposit on the surface of the pavers that need to be cleaned prior to sealing or staining.
Surface Preparation:
Regardless of the system used, the pavers should be dry and free of contaminants that may affect proper bonding such as dirt, dust, grout residue, grout release, acid residue, sealers or other contaminants, prior to sealing. The normal recommendation over the past 23 years was to soak the paver before installation. Many contractors soak the paver and manycontractors do not soak the paver. All of the contractors agree that using Premium Blend Thin-set mixes with Acrylic Mortar Admixture and backbuttering each piece of tile during installation will assure getting a strong bond between the paver and concrete or mortar bed backing surface. Wet paver surface on the back of the tile and the edges prior to installation.
INSTALLATION OF MEXICAN PAVERS
When installing the pavers over an existing concrete floor that has vinyl or asphalt tile on it, it is first necessary to remove the existing tile and the mastic with which it was put down. Now that your floor is clean, you are ready to begin installation. The first thing to do is to set your guide lines; this is done by measuring the floor and deciding which is the best way to lay the tile so that the fewest number of "cuts" are required. Once you have decided on the starting point, mark a line parallel with the wall with your chalk line. Next, establish a line at me right angle to the one you have just marked and chalk it. You should now have a "L" shaped line on the floor that is a true right angle.
NOTE:Since most rooms are not square, it is necessary to follow this method. Now that you have the floor "layed out", it is necessary to soak the tiles before installation. This can best be accomplished by placing them in an large tub. If this is not available, soak them with a garden hose. We recommend that this be done no more than one hour before installation.
THIN-SET METHOD:
Mix the thin-set as recommended by the manufacturer. Spread the
thin-set on an area of the floor starting at the intersection of your chalk lines. We recommend applying thin-set to an area of 3-4 square feet at a time. (This will prevent the material from drying
before you can cover it.) The thin-set should be thick enough so that when a tile is set in it, complete coverage of the tile is obtained. Complete bonding may be
assured by "back buttering" each tile as it is laved. This is one by spreading a small amount of thin-set on the back of each tile as it is layed. Place the first tile at the intersection of
the chalk lines and make sure it is square with both lines. Use the rubber mallet to tap the tile into the thin-set.
NOTE:Care must be taken not to tap the tile hard enough to break it. You can now start placing the tile, in both directions. From the corner tile, care must be taken to maintain a constant joint size. Spacers may be used. Make any cuts and install them as you proceed. This will eliminate having to step on tiles that have just been layed. Continue until the floor has been completely tiled. Allow the tile to "set" for one day before grouting.
NOTE: This does not always apply to small areas.
STAINS AND SEALERS
The
consumer must make the decision of what stain and sealers are to be used with
the Saltillo Mexican Pavers. • One or two coats of stains and sealers being used should be applied to the paver surface prior to grouting.
Choice of Stain:
1. The Natural Look (No stain).
2. The Translucent Look. Available in Adobe Red, Fresco Peach, Blanco, Spanish Oak, and Terra Cotta.
3. The Opaque or solid color. Color Crete is available in 33 colors.
Choice of Finish:
The Natural Look. This unfinished paver needs two thin coats of a Penetrating Sealer.
2.
The Natural Look with medium or no sheen. Use 3-4 coats a Top Finish followed by 3-4 coats of a Shine and Hardener. For no sheen, mix last coat with equal part
of water with application.
3. Stain with medium sheen. Use the stain first. Use 3-4 coats of a Top Finish followed by 3-4 coats of a Shine and Hardener.
4.
Outdoor use natural look with medium sheen. 2 thin coats of a Penetrating Sealer
followed by 3 coats of a Tile Wax.
GROUTING
• Natural grey grout is the most used grout color. On the job mixture is done to mix 3/1 sand/cement for grout joints wider man 1A".
• The
cement is type I, II, III. Do not use plastic cement. The sand is a fine graded
sand and may be a mixture of type 30 and type 60 silica sand. Dry mixing the
sand and cement is recommended prior to adding water. Additives in the grout
are not recommended.
•
When a customer chooses a pre-blended commercial portland cement grout color, and joints are wider than V2\e installer should add one one-pound coffee can amount
of silica sand to the manufacturer's grout. Mix grout to a fluid consistency. (Just slightly thicker than milk.) With a small container, (a coffee can will do), pour the grout into the joints.
The^rout must be poured higher than the tile surface. This is because the grout will shrink as it dries. The amount of shrinking will vary according to the moisture content of the tile and the grout.
Allow the grout to "set" until the shrinkage has
occurred and the grout is "stiff". At this point, start to remove the excess grout - this can be done with a small trowel or a squeegee.
CLEANING AND ACID WASHING
After
all excess grout has been removed and the grout is set enough so that it will not
wipe out with a sponge, (since time varies in each case, it is recommended that a small area be tested), start wiping the tile with a sponge or cheesecloth and clean water to clean excess grout and
stains. We have found it best to go over the entire floor with a fairly damp sponge, then start over again. Change water often. It may be necessary to go over the floor 3-4times before it is
clean. Before sealing the floor, should a grout haze remain on the Saltillo Mexican Paver, acid washing may be necessary. We recommend that this be done 7-14 days after the floor has been
grouted. Use a solution of 5-10% phosphoric acid and water. Dampen the floor and wash with a scrub brush. Do not allow the acid to puddle on the floor. Rinse with clean water and sponge. Phosphoric
acid is harmful to metal so it is necessary to protect any metal that may be in the area to be washed. Light scrubbing is normally enough to removeall grout scum and efflorescence. Anytime acid is used, the
installation must be neutralized. Never use muriatic acid or sulfamic acid with
Saltillo Mexican Pavers.
CAUTION: EXCESS ACID MAY DAMAGE THE GROUT AND THE TILE
LONG TERM MAINTENANCE
Long term maintenance and cleaning is recommended for all tile installations. Normal maintenance with a neutral base soap is recommended. Caution! Do not use ammoniated or high pH cleaners for ongoing maintenance as this type of cleaner may strip the surface sealers from the paver installation.
• Maintaining medium sheen finishes: For the first three to six months after installation, clean with a neutral base soap, followed by one additional coat of either a Shine and Hardener, or a Tile Wax (exterior). Installation of Saltttlo Mexican Pavers following these installation guidelines should assist in a successful long term enjoyment of the tiles. A reminder of a few normal industry practices include:
1. Use at least a Vfc" x Vz" square notched trowel for application of the Thin-set mixed with Acrylic Mortar Admix, to the concrete slab or mortar bed substrate. Back buttering the paver with the same mortar mix is recommended.
2. The Saltillo Mexican Paver should be installed at least 48 hours prior to grouting and prior to any foot traffic. Remember to use stains and/or sealer prior to grouting.
TOOLS REQUIRED
Thin-set Method
1 %" notched trowel Vi"
1 rubber mallet
1 chalk line (for laying out pattern)
1 tile saw for cutting (optional)
1 clean bucket
1 squeegee
1 sponge
1 bucket/pan for mixing thin-set
Mortar Set Method
1 brickmason's trowel
1 rubber mallet
1 chalk line (for laying out pattern)
1 tile saw for cutting (optional)
1 clean bucket
1 squeegee
1 sponge
NOTE: Mortar may be mixed in a cement mixer, wheelbarrow, or any suitable container.
RECOMMENDATIONS: Important: Mexican Saltillo Pavers are not freeze-thaw stable and should be considered for exterior areas only in climates that are not freeze-thaw sensitive. It is not recommended that coating (surface) type sealers be used on exposed exterior Saltillos due to greatly increased maintenance requirements. For this reason, a Penetrating Sealer is recommended which will greatly reduce the paver's porosity, helping to protect the installation from sub-surface contaminants resulting in easier on-going maintenance.
REFURBISHING EXISTING SALTILLO INSTALLATIONS;
Removing existing sealers: To remove existing petroleum or water based sealers, use a Bond Stripper or a Graffiti Remover, following product directions carefully. Do a small test area to insure desired results. Removing existing waxes or wax-type finishes: Use a Speed Strip per product directions. IMPORTANT: Do not use a sealer over a previously applied sealer. A Shine and Hardener may be used over a clean, dry, previously sealed floor as long as the sealer is in good condition and is properly bonded to the Saltillo Pavers. Do a small test area to insure desired results.
For exterior areas directly exposed to oil type contaminants such as in or around barbecue areas, a Sealer's Choice is recommended to provide maximum protection. Maintain the exterior installation with a neutral base soap, mixed four ounces to one gallon water, applied and agitated with a soft bristle brush. Rinse with clean water. If periodic, heavy duty maintenance is ever needed, use a Speed Strip mixed one part to four parts water and used in the same manner as neutral base soap.
SPECIAL CONSIDERATIONS:
1. Use only neutral pH cleaners on floor finishes, as ammoniated type cleaners will break down wax-type finishes.
2. EFFLORESCENCE is a whitish color residue that often occurs on clay or cement products. It is simply a result of moisture coming in contact with the soluble salts (minerals) in the substrate of clay pavers. Allow it time to surface (sometimes it may take several weeks) and clean it off with neutral base soap. Efflorescence will normally subside after its initial occurrence, as the*e is a limited source of soluble salts in the system.
3. ACID WASHING is not recommended as a standard procedure. If acid washing is deemed necessary, a Phosphoric Acid Cleaner is recommended per product directions. Always saturate the tile and grout with water prior to acid washing. A light concentration of household ammonia is recommended, immediately following the acid cleaning to help neutralize the acid residue. After neutralizing the acid always wait a minimum of 24 hours prior to sealing or finishing.
4. DEEP SET STAINS: If the neutral base soap or the Speed Strip are not effective in removing an oil based stain that would appear to be deep set in the Saltillo, use a Bond Stripper. Best results can be achieved by stripping and cleaning the entire tile per product direction. The individual tile can be resealed and refinished an hour after cleaning.
5. COATING SYSTEMS: Although it is recommended to wait a minimum of one hour between coats of both Top Finish Sealer and Floor Shine and Hardener, optimum results can best be achieved by allowing an overnight cure of the final coat of Top Finish Sealer prior to application of Floor Shine and Hardener. For best results, also allow two hour cure time for the first coat of Floor Shine and Hardener prior to two additional coats applied at one hour intervals.
4. STAIN REMOVAL
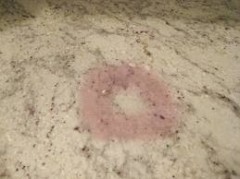
STAIN CHART
1. IRON STAIN:
Poultice made with: Liquid Poultice
Sodium Citrate and glycerine
Ammonium oxalate
Oxalic acid
Orthophosphoric acid and sodium in salt water
Diluted hydrofluoric acid
2. INK STAINS:
Poultice made with: Liquid Poultice or hydrogen peroxide (light colored stone)
Acetone or lacquer thinner (dark colored stone)
Methyl chloride
3. OIL STAINS:
Clean with: Scouring powder and bleach
Miraclean #1
Liquid Poultice
Liquid detergent
Ammonia
Mineral spirits
4. COFFEE, TEA, TOBACCO STAINS:
Poultice made with: Liquid Poultice
Hydrogen peroxide 35% solution
Acetone
Toluene
Xylene
5. ALGAE, MILDEW, MOSS STAIN&
Poultice made with: Ammonia
Bleach
Liquid Poultice
Hydrogen peroxide
Sodium hypochlorite
6. COPPER STAIN&
Poultice made with: Ammonium chloride
Ammonium hydroxide
7. EFFLORESCENCE:
Poultice made with: Distilled water
8. DISCOLORATION:
Poultice made with: Bleach
Liquid Poultice
Hydrogen peroxide
Instructions in this guide are condensed. In event of failure, Miracle Sealants Company has no obligation or liability. Before using, user shall determine the suitability of products for their intended use. User assumes all risks and liability whatsoever in connection therewith. Neither seller nor manufacturer shall be liable for any injury or inability to use products or process.
STAIN REMOVAL GUIDE
Natural Stone is porous by nature and will stain. Because stone is porous you can sometimes remove the stain by reversing the initial staining process. Re-absorb the stain into a medium and you remove it from the stone. The typical medium is called a poultice.
Stains should be treated as quickly as possible. As time goes on, it becomes increasingly difficult to remove the stain. Attempts to remove stains should not precede stain determination. Using the appropriate removal method is important to achieve desired results. You must ask questions to determine what the stain is. What is the color? Where is it located? Is it from a constant dripping? Is it associated with the main traffic areas? Are plants on or near the stain? What is the pattern of the stain? Is it ink? Is it metal?
If investigation doesn't determine the stain, then patch tests will need to be performed. In many cases, it will take several patch tests. Once the stain has been identified, the following procedures can be followed:
1. Pre-wet the stained area with water. (Distilled water is best.) This will isolate
the stain and accelerate stain removal.
2. a. Pre-Mix the powder with chemical. Mix until you have a mortar-like paste. Make sure the paste is not so
wet that it runs.
b. A flannel, cotton or paper towel should be soaked in the chemical. Lift the material out of the chemical
and allow to dry. You just want the material to be dry enough to stop dripping.
3. a. Apply the paste to the stain and do not let it drip or spill onto adjacent, clean areas. Typically the paste
should be applied approximately 1/8” to ¼” thick. Overlap the stained area about 1-2 inches only. Cover
area with plastic wrap or wax paper and tape down the edges.
b. Apply flannel, cotton or paper towel to stain and do not let it drip or spill onto adjacent, clean areas. Cover
the area with plastic wrap or wax paper and tape down the edges securely.
4. The poultice must dry completely to be effective. As the poultice dries, it pulls the stain from the area being
treated into itself. Drying time is usually 24-48 hours depending on the type of poultice being utilized.
5. After drying, remove tape and plastic wrap and then the poultice. Pastes are best removed! with a wooden
paddle, trowel or putty knife. Paper can be easily lifted off the treated area. Rinse area with water (Distilled
water is best) and buff dry. If the stain is lighter, but not completely removed, re-apply the poultice. Multiple
applications may be required with many stains.
SPECIAL NOTES OF INTEREST:
1. Some chemicals will remove the polish from marble.
2. Do not use whiting and acidic chemicals. They react, causing a cancellation effect, and typically nothing will
occur.
TYPICAL STAINS
1. Organic: coffee, tea, tobacco and food stains.
2. Inorganic: rust and metal stains.
3. Biological: mildew, mold, fungus and algae stains.
4. Oil base: grease, plumber's putty, hand prints (etc), stains.
5. Ink: magic marker, ball point pen, (etc), stains.
TYPICAL CHEMICALS USED WITH POULTICE
Miraclean #1, Liquid Poultice, hydrogen peroxide, phosphoric acid, bleach, heavy degreaser, ammonia, mineral spirits, acetone, toluene, xylene, methyl chloride, sodium citrate, glycerine, oxalic acid, hydrofluoric acid, scouring powder, sodium perborate, sodium nydrosulphite, trisodium phosphate crystals, etc...
TYPICAL POULTICE MEDIUMS
Fuller's earth, clay, hydrated lime, diatomaceous earth, chlorinated lime, Portland cement, cellulose, whiting, plaster of paris, talc, flannel, cotton, gauze, paper towel, blotting paper, etc...
5. R-VAULE FOR NATURAL STONE
| Heat always flows from warmer to colder areas. The transfer of heat energy through a solid material is known as conduction. There are certain applications where this heat transfer,
or thermal conductivity, of a natural stone becomes an important factor in design and material selection. A stone surround at a fireplace or cooktop, between the heat source and a flammable outer
material, is an example where the conductivity of the stone should be carefully determined before selection. Another common application is a heated pavement system, where the thermal conductivity of
the stone becomes a factor in determining the system requirements to effectively melt snow and ice from the pavement surface. This bulletin provides the measured values of thermal conductivity
(k-value) and thermal resistance (R-value) for the most common natural stone types used in building applications of common stone types.
2. Introduction to Heat Transfer. 2nd ed. New York: John Wiley & Sons, Inc., 1990. (Appendix A) 3. The Thermal Resistance or R-value depends on the thickness of the material. These values have been calculated for a 1" thick dimension stone sample. The center column in the table above lists values for the thermal conductivity of the natural stone types. The k-value is a measurement of the rate of heat transfer through a solid material. If a material has a k-value of 1.00, it means that 1 square meter of material in a thickness of 1 meter will transfer heat at a rate of 1 watt for every degree Kelvin of temperature difference between opposite faces. A high value indicates the material is more conductive, and a low value means it is more insulating. The right column in the table above lists the R-value equivalent (R) of the stone in 1" thickness as measured in hours by square feet by degrees Fahrenheit per British thermal unit. The high value is the highest test score achieved in a range of samples, and the low value is the lowest test score achieved. This is the accepted method used to measure the insulating value of products. The MIA thanks MIA Member firm SGS US Testing, Tulsa, Oklahoma, for their guidance and consultation. This technical bulletin contains general guidelines. The Marble Institute of America and its Member companies are not responsible for any use or misuse that causes damage of any kind, including loss of rights, materials, and personal injury alleged to be caused directly or indirectly by the information contained in this document.
Printed from www.marble-institute.com on July 18, 2010 Copyright © 2010 Marble Institute of America |
6. STONE DEMANDS RESPECT
STONE DEMANDS RESPECT
There are similarities in setting stone and ceramic tile, and major differences in the setting mechanic of stone. Loss of bond or delamination, is a common problem caused by improper setting material and technique. Discoloration and/or staining due to the wrong setting material. Efflorescence appearing, caused by over use of water. Mysterious scratching caused by sanded grout, and more.
- Ceramic is a man-made product, and is generally homogeneous in construction. Each and every tile typically has the identical composition, and therefore has predictable qualities.
- Stone tile is a product of nature and can differ in composition from tile to tile and therefore has unpredictable qualities.
- Ceramic tile is generally non-porous to slightly porous, resulting in a very low absorbency.
- Stone tile can be very absorbent, and for this reason can cause several different setting problems.
- Ceramic tile is generally lightweight and relatively thin.
- Stone tile ranges from 3/8-inch thick to as much as 1 1/4-inches thick and can be very heavy. A 12-inch-square stone tile can weight as much as 10 pounds or more.
- Ceramic tile typically has a cast back with many different corrugations designed to provide the proper bonding of the tile to the setting bed.
- Stone tile back has no corrugation, and is generally saw cut or smoothed.
- Ceramic tile is generally resistant to acids.
- Stone tile, marble can be very sensitive to acids.
|
Preparation: |
Surface preparation for stone and ceramic tile have some common ground. However, due to the porosity of stone tile, it is important that the substrate to which the setting bed is to adhere be free of materials, both organic and inorganic, that might cause staining of the stone tile.
- Green plywood that contains sap can bleed through.
- The nails that attach the plywood to the floor can rust and bleed through the surface of the stone.
- Will the subfloor support the weight of the stone tile?
- If stone tile is set on a floor joist, there is a possibility that if any deflection is encountered, the stone tile can develop what is known as compression cracks. Compression cracks appear as fine, hairline cracks below the surface of the tile. If deflection is suspected, it is recommended to install a slip sheet to absorb this deflection.
Tools Required:
- When setting stone tile, you can throw away your tile nippers and tile cutters. Stone cannot be trimmed and cut like ceramic tile.
- A wet saw equipped with a good diamond blade is a necessary tool.
- Many tile setters use kneepads, but when setting stone, it is important that your knee pads do not scratch the surface of the stone. It may be a good idea to tape Styrofoam to the kneepads. Check them often as you work to avoid picking up sand and stray grit.
Setting Materials:
Many of the setting materials that are used for ceramic tile can also be used for stone tile, but there are some exceptions.
- Many green marbles cannot be set in water-based setting materials. If they are, they can curl at the corners.
- Green marble should be set in epoxy and not in water-based materials such as thinset or mud. However, I have been told that there are several water-based materials that are being developed specifically for these difficult materials. Check with the manufacturer and make sure their material is recommended for setting green marble.
- Certain setting materials can cause "Bleed Through." Many translucent stone tile (whites and lighter colors) will permanently darken if a gray setting material is used. It is always a good idea to use a white setting material when setting stone to avoid this problem.
Setting:
The procedures for setting stone or ceramic are relatively the same, but again we have some differences that should be noted.
- Due to the smooth backing of stone tile, it is of utmost importance that stone tile obtain 100 percent contact with the setting material. These procedures are detailed in The National Tile Contractors Association Reference Manual and the Marble Institute of America Design Manual.
- Before any stone tile is set, it is a good idea to lay out the tile dry. Since stone tile varies from tile to tile, you will need to lay out the material to make sure you do not set tiles that would not be aesthetically pleasing. This of course involves a lot of extra time, but you do not want to hear some of the stories where customers refused to pay for an installation because the veins were going in the wrong direction or there were shading differences from one tile to another. Perform a dry layout, get the customer's approval, and you will avoid any problems.
- Avoid using excessive amounts of water when installing stone tile. Too much water can cause a condition known as efflorescence. Efflorescence can be detected by a white powdery residue developing on the surface of the stone. This powdery residue is dissolved salts from the setting bed being carried to the surface. If this condition occurs, the salts can be removed by dry buffing the tile with a soft cloth. The efflorescence will stop when the setting bed completely dries.
Grouting:
- Stone tile should always be set with as narrow a grout joint as possible. You will need to avoid grout joints over 1/8 inch. The reason is simple. If stone tile, especially marble, is set with a wide grout joint, you will need to use sanded grout. Sanded grout will scratch stone tile. The only way to remove scratches from stone tile is to hone and polish the surface. If sanded grout is used, the honing process will pull the grout out, and it will re-scratch the tile. The grout will have to be removed prior to any honing. This can be costly and very time consuming. Always set stone tile with narrow grout joints and only use unsanded grout.
- Another grout type that is becoming popular is epoxy grouts. Epoxy grout on certain types of stone can cause problems. Some of the darker epoxy grout can bleed into the stone causing permanent staining. This is especially true on granite. Granite tends to be more porous than marble, and can absorb epoxy very readily. If using epoxy grout on stone, it may be a good idea to do a mock-up installation. Also check with the grout manufacturers; there are available several non-staining epoxy grouts.
Clean-up:
- Most grout cleaners are acid- based, and acids will affect marble tile. Never use acid-based cleaners on marble tile. Use only neutral cleaners and water. Non-acid grout cleaners are now available from several stone maintenance supply distributors.
Care and Maintenance:
- On marble tile, NEVER recommend or use vinegar and water. Vinegar contains acetic acid that can dull the marble. Recommend only a good neutral cleaner or stone soap. The Marble Institute of America has designed a care guide for marble and stone. Give this to your customer and read it yourself. More installations have been damaged due to improper care and maintenance than by any other procedure.
The Marble Institute of America www.marble-institute.com.
The National Tile Contractors Association www.tile-assn.com/
The Tile Council of America www.tileusa.co
6. FOSSIL


Comments
HOW ABOUT A FLAGSTONE PATIO??